Follow our step-by-step printer guides to connect your printer to Wi-Fi, USB, or Ethernet and start printing quickly. Whether you're installing a new printer or resolving a setup issue, we've got you covered.

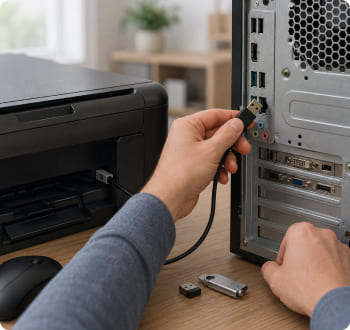
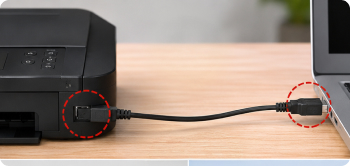
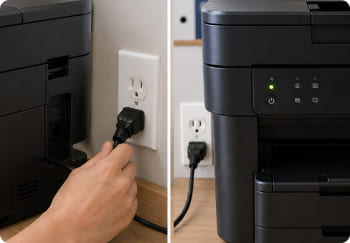
Ensure a secure physical connection between your printer and computer.
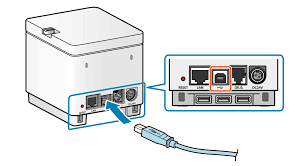

Make sure the USB port you're using is working correctly.
A faulty cable might be the problem.
Too many connected devices can cause conflicts.
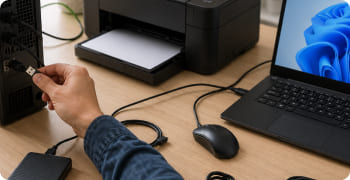
A quick reset can restore USB communication.
If the setup resumes automatically, proceed with installation. Otherwise, run the installer manually.
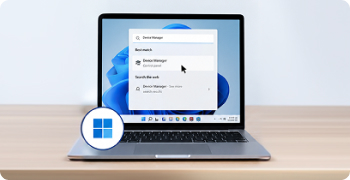
Ensure the correct drivers are in place.
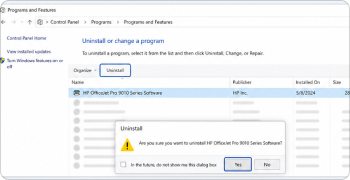
Old or conflicting installations may block setup.
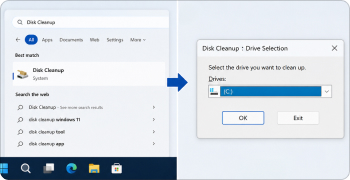
Clean out junk files that might interfere with installation.
Eliminate background software conflicts.


PC Packard LLC is an independent business and is not affiliated with, endorsed by, sponsored by, authorized by, or associated with HP Inc., Hewlett-Packard (HP), Canon, Epson, Brother, Dell, Microsoft, Apple, Lenovo, Samsung, or any other manufacturer, brand, or trademark owner unless expressly stated.
The name "PC Packard LLC" is the legal name of an independent company and has no connection to Hewlett-Packard (HP Inc.) or any of its subsidiaries, affiliates, products, services, support channels, or websites. Any references to third-party brand names, product names, trademarks, or logos are used solely for identification and compatibility purposes. All trademarks, logos, product names, and brand names are the property of their respective owners. Customers seeking official manufacturer support, warranty services, product registration, or services directly from a brand should contact the respective manufacturer through their official website or official support channels.
PC Packard LLC provides independent products and services and does not claim to represent or act on behalf of any manufacturer or brand unless specifically disclosed in writing.
Any Questions? We’re here to help! Available between 9 AM – 8 PM CT, 7 days a week.


2026 PC Packard - All Rights Reserved.

